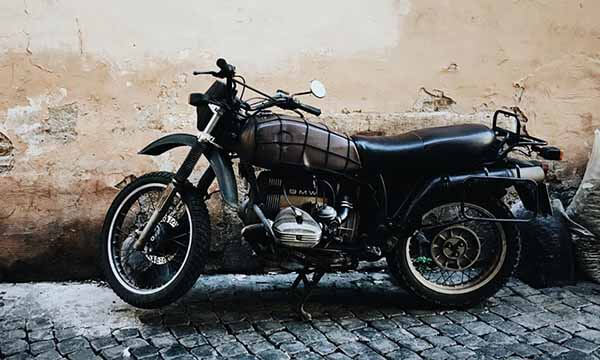
Whether you are worried about resting your motorcycle for a couple of off-season months or want one that has been sitting for years, the thousand-dollar question is, will it run? Well, it obviously depends on each bike’s temperament, but there are limits that must not be broken, or just about any machine won’t run! And so, the question remains — how long can a motorcycle sit without starting?
A motorcycle can generally sit idle for up to 4 weeks (a month) or so without any tweaks, but when properly winterized and stored in an ideal space, it can sit for between 90 days (one season) up to two years (24 months). The devil is always in the details, or in this case, the waiting. Let’s explore the risks and remedies of having your bike just sit there.
What Takes Place If a Motorcycle Is Left Sitting for Too Long?
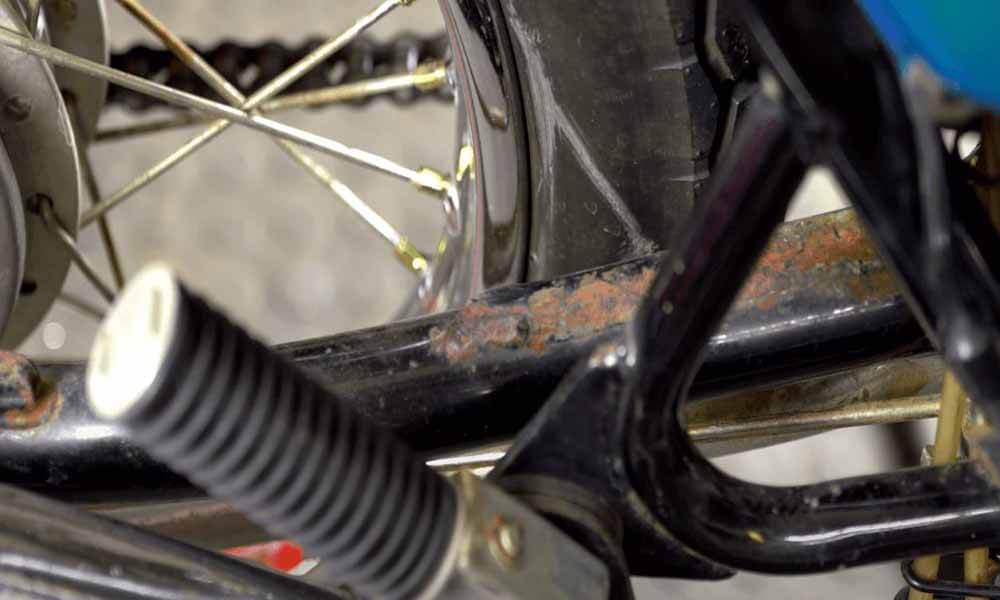
What happens to a motorcycle that sits for an extended period of time has a lot to do with materials and science, which dictates how the various parts wear with exposure to different outdoor or indoor elements i.e.
- When exposed to sunshine, the paint might peel off
- Oil seals and gaskets swell, crack and become brittle
- All rubber, including that in tires, also become brittle over time
- Dust could build up and clog important supply lines
- Rims and spokes are my take-ups on corrosion
- The battery dies or drains
- Brake pads swell seizing rotors
- Condensate forms in the carburetor and engine
- Fuel is chemically destabilized
- Exposed metal parts rust
- The chain gets corroded, becomes stiff and dry
You realize that there is no chronological order to this mayhem and that conditions in the storage space have a lot to do with what happens to the bike. What you cannot easily prevent are the chemical reactions such as fuel going bad or batteries dying on you. You can, however, learn how to manage fuel for the winter with our post on “Can You Leave Gas in the Motorcycle Over Winter?”
Here are easier ways to prevent your torque beast and wallet from taking a dent during winter. The key word here is preparation.
Our 14 Checklist on Starting Just About Any Motorcycle That Has Been Sitting for a Long Time
Proper early preparation for storage is critical to getting your bike to start the next time around. But say you have come across an irresistible 1960 renegade motorcycle that has that retro vibe you have always wanted, it raises the question, will it run? You don’t know how long it’s been gathering dust and whoever is selling it to you is not the primary user and does not have any knowledge of or interest in motorcycles.
It is not simply a rush to get it to start, you need to ensure that it is safe to ride and won’t wreck itself on the first ride. Do all the requisite checks even if it appears that it will run. Here is our checklist for starting just about any motorcycle that has been shelved for a bit; let’s break it down into the mechanicals, fluids, and electricals.
Mechanicals — Are You Handy with a Wrench?
The visual inspection will often suffice, but don’t shy away from an opportunity to skin some knuckles (figuratively speaking, of course, do wear gloves and eye protection).
1. Inspect Chassis and Suspension for Corrosion
The performance and look of motorcycle components are affected by moisture, temperature changes, and sunshine. Rubber parts may become brittle, while metal parts may corrode. Your beautiful monster can corrode and rust into a heap of dust if you don’t take any preventative precautions.
Corrosion may eat away at metals from the inside out, starting at the exhaust, leaving them hollow and fragile. Examine the muffler and exhaust for signs of rust and take steps like repainting to stop the chassis from getting eaten away.
2. Check Tires for Deformities and Wear
Rubber degrades when left idle. Before riding, inflate and make sure to check that the tires can hold pressure. If you park the bike for long enough, the tires will naturally deflate. Improperly stored tires and even properly stored ones will expire after some time, typically 6 to 10 years after their date of manufacture — and these are the premium kind. So, if your motorcycle has been sitting on a used pair for longer than a year and a half, you should probably consider buying a new set. We recommend Dunlop Q3+ for racing performance, Michelin Road 5 for normal street riding, and Continental for ADV.
Motorcycle tires take anywhere from 27 to 40 PSI depending on the manufacturer’s specifications. First, refer to the label written on the tire.
3. Check that Brakes Don’t Seize
Park your motorcycle on the double stand and twist each tire with your hands to check your brakes. You will need a special lifting tool or a jerk for sports bikes, which lack a center stand. Spin the front tire by hand and squeeze the front brakes gently then firmly. Listen for squeaks and whining — a sign that your brake pads or disk are not happy. Do this for the rear brake as well.
Check the brake fluid level as well while you’re at it. The brake fluid should be replenished every 2 to 3 years in most cases; however, if the bike has not been used in a long time, it is better to replace the entire fluid with new ones.
4. Clean and Fix the Spark Plugs
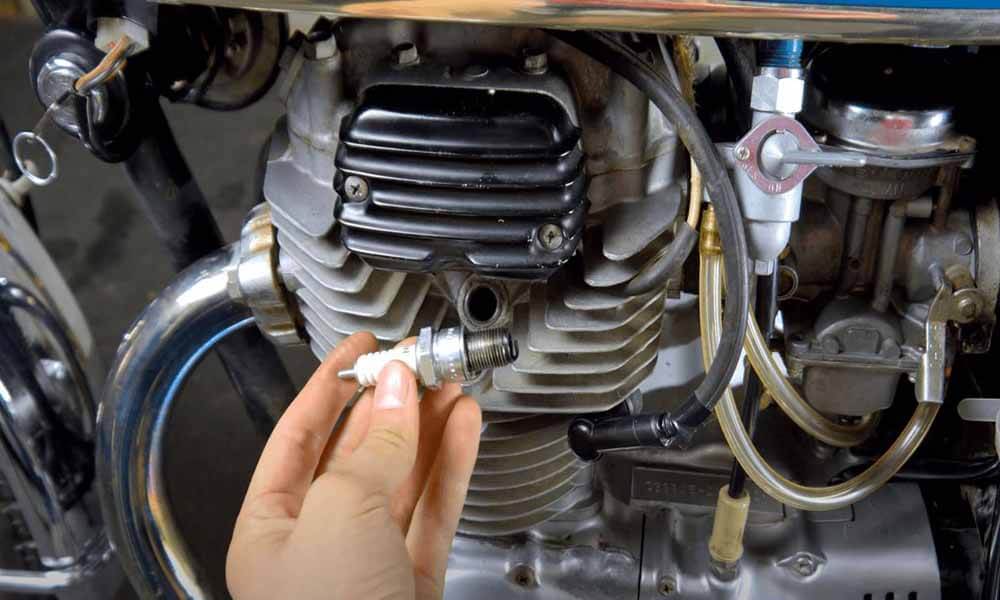
Spark plugs lose their efficiency when left inert, so clean the electrodes to generate a stronger spark. Only clean the plugs using fine-grained sandpaper and a wire brush until they shine then reinstall them. The hardened soot can also be scraped off using a hardened blade with care not to increase the gap or damage the electrode. We want them sparkly, but a shot blaster is out of the question!
Besides being corroded, rusted, or unclean, spark plugs might also be damaged (broken tips) or worn. Misfires backfire, and flooding of the engine are all symptoms of bad motorcycle plugs. As a result, you must ensure that the plugs are in good working order, and if they aren’t, you may need to replace them.
What’s more, check your bike’s firing order diagram to ensure that the plugs are firing in the right sequence. If not, make the necessary adjustments.
5. Check the Tank
Temperature fluctuations in storage rooms are common, resulting in condensation and oxidation. When exposed to outdoor weather or in proximity to huge masses of iron, the damage could be irreversible. Before turning on the pet cock if your bike has one, make sure you examine the bottom of the fuel tank using a flashlight. Do this because small particles might clog the carburetor’s fine vents if there are indications of rust. If you observe any signs of rust or oxidation, you should empty the tank and repaint it to totally remove rust.
You May Also Like: Best 10 Gas Can for Motorcycle And 5 Carriers to Hold It
6. Clean and Lubricate the Chain/Shaft/Belt
The chain is one of the most crucial components of the drivetrain, yet it is also one of the most neglected. Tending to the chain is an easy but easily forgotten chore for riders. Making it routine helps. This exercise should be completed before taking your bike for a test ride.
In the case of belt drives, rotate the back wheel while checking the inside and exterior surfaces of the belt for cracks, missing teeth, rips, or holes. Minor edge fraying or a few nicks in the teeth are typical and not cause for concern, but serious damage necessitates a replacement. Check out the pulleys next. If they are chromed, check to make sure the material isn’t flaking off because the chrome acts as a tough, long-lasting covering. Otherwise, all you’re searching for are symptoms of wear like chipped or uneven teeth.
You will have the easiest final drive to maintain if your motorcycle has a shaft drive. The majority of shaft-driven motorcycles just need a fluid change, cleaning, and lubrication every 6,000 miles or less frequently. Start by flushing this system out and topping up fresh fluids.
7. Clean out the Carburetors
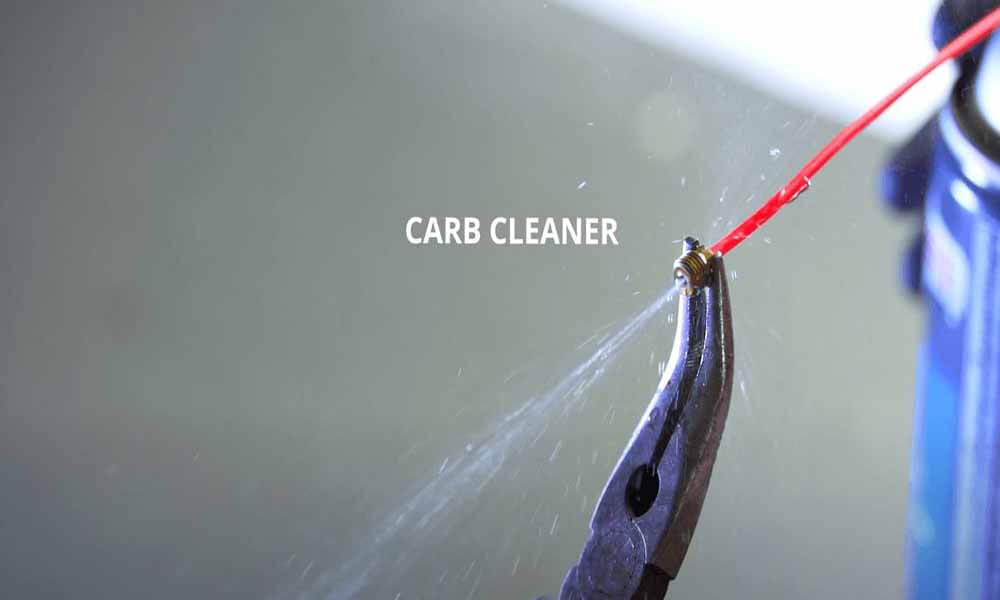
Carbs are important because they are the heart of the mixing operation, which is necessary for a bike to run efficiently. They maintain an air-to-fuel ratio that determines fuel economy and power churned by a particular naturally aspirated engine.
However, owing to prolonged inactivity, the carburetor is prone to get clogged with fuel residues and carbon. These pollutants may reduce the effectiveness of the carburetor, resulting in a badly performing engine.
No, fuel-injected bikes (EFI) don’t have carburetors, and maintaining their injectors is a more rigorous process you probably shouldn’t attempt at home. Adding fuel stabilizers with detergent action, like the Seafoam Motorcycle Engine Treatment, helps to achieve the same effect as manually washing out your injectors.
Fluids — It Gets Muckier!
Afraid to get your hands dirty? It’s actually quite rewarding to work once you get the hang of it. Spread some cardboard on the floor and have a cloth at hand to manage spillage.
8. Replace the Old Fuel
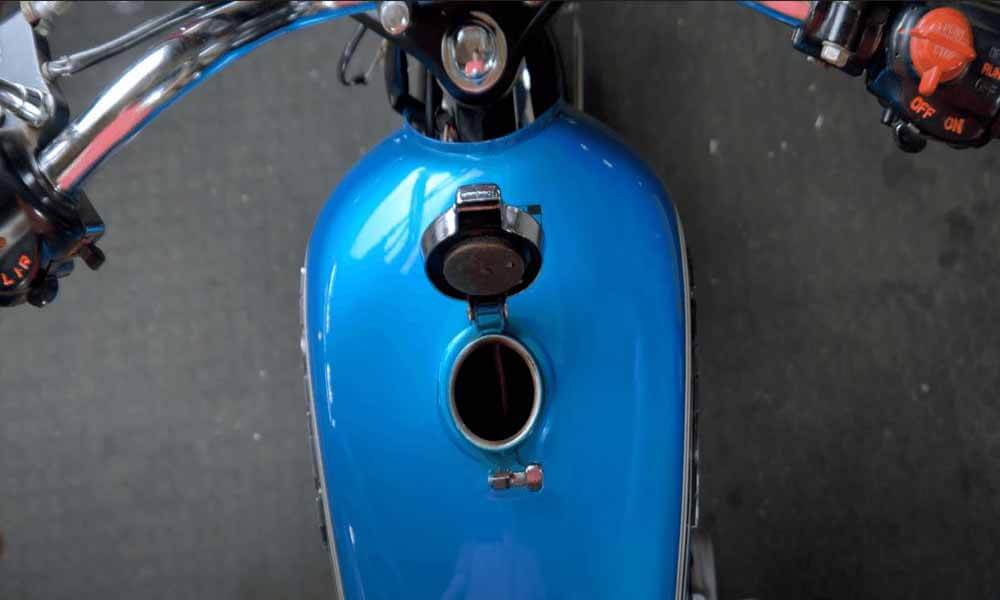
The volatile components in gasoline dissipate with time. These components are important for full combustion in the ignition chamber, which would make starting the engine difficult. As a result, it’s a good idea to totally replace the old fuel and refill your motorcycle with new.
The carbs might become caught within the fuel intake after a lengthy period of immobility, causing your motorcycle engine to run low or rich. So, when you’ve replaced your old gasoline with new, open the carburetor valve and drain some of the new fuel to clean out any impurities.
9. Change Engine Oil
Changing oil should not be avoided under any circumstances if the engine oil is still brilliant and in good condition. While at it, change or clean the oil filter too. Be sure to follow proper procedures when disposing of used oil because we are people who care about the planet too.
10. Inspect Oil Filter
This may appear to be superfluous, yet it is strongly recommended. Dirty engine oil has a tendency to agglomerate and block piston performance. Impurities clinging to the filter are the same. In most cases, these contaminants around the filter may be cleaned with gasoline, but if the filth is too obstinate, you should replace the filter.
11. Flush the Cooling System
Liquid-cooled engines need their coolant, and it also needs replacement. The chemical composition of these fluids also changes over time, which means you need to flush this system too.
Engine coolant cannot be overlooked when maintaining a motorcycle. Combustion and friction generate a lot of heat that the coolant dissipates. Coolant, like engine oils, degrades with time. Its cooling capabilities deteriorate over time, and it must be changed entirely at least once every 2 years to keep the engine sane!
12. Remove the Air Filter
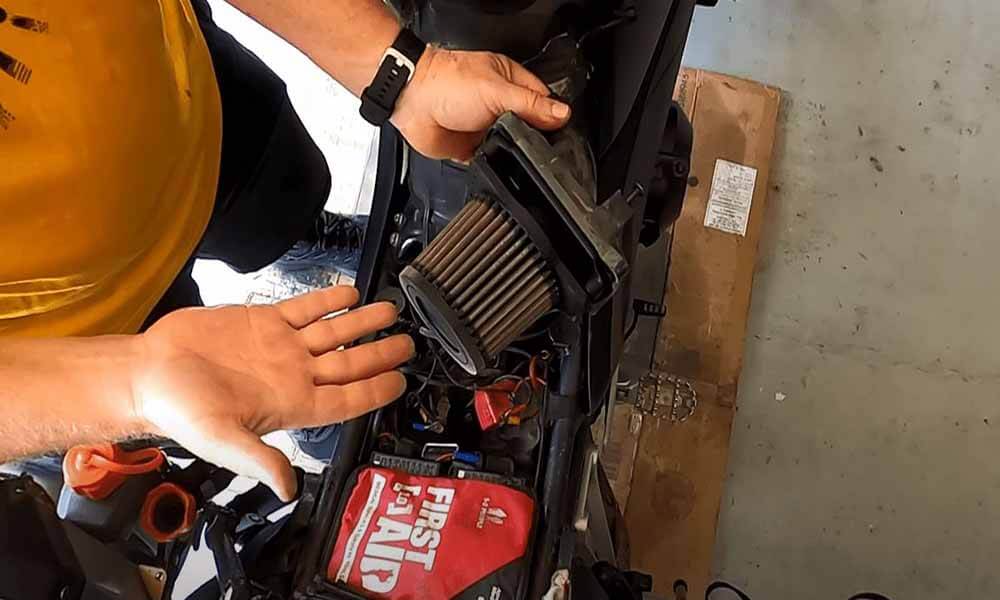
Yes, ladies and gentlemen, the air is fluid! Air filters are composed of pleated paper, and their effectiveness degrades with time. It’s best not to waste time cleaning them because replacing them is a better option. You should change your air filter after a rigorous off-road riding let alone leave it idle for months. Some air cleaners are cleanable and reusable, but there is always a limit. Generally, if your filter has been stored for less than a year, you can clean it with compressed air and reuse it.
Electricals — Careful Einstein!
Even for bikers who are handy with tools, the electricals always present a challenge. However, it doesn’t have to be that way, manufacturers try to simplify the complex wiring with color codes and whatnot. Generally, you only have to check fuses and do a few voltage tests. Nothing too major, so you should be fine.
CAUTION! Don’t touch the bike’s wiring when it’s running to avoid getting shocked. Also, remove fuses when working on wiring to prevent short circuits. Keep fuel away and tank cap on and work in an open space to prevent fires.
To assess a bike’s wiring do
13. Check Battery Voltage
The juice box is important for your bike to start its day, any departure from the normal voltage and currents and you will have to deal with tantrums. Without a properly charged battery, the bike won’t start, unless you have a kick option or jumpstart it downhill (not recommended for bikes with starter motors). It’s pointless to keep your expectations up unless you invest in a battery tender to compensate for parasitic losses.
A fully charged battery will deplete entirely with time. Use a voltmeter to check if the battery is viable or not. Batteries that have been sitting dormant for more than a year are likely to work poorly or not at all.
A fully charged motorcycle battery will read a value of 12.8 V to 13.0 V. If the voltmeter still indicates a lower value after a complete charge, it’s possible you’ll need to replace it. You can re-use your battery after completely charging it with the aid of external adapters if you see certain readings in your voltmeter, which is likely since you forgot to charge it regularly.
14. Inspect Wiring and Joints
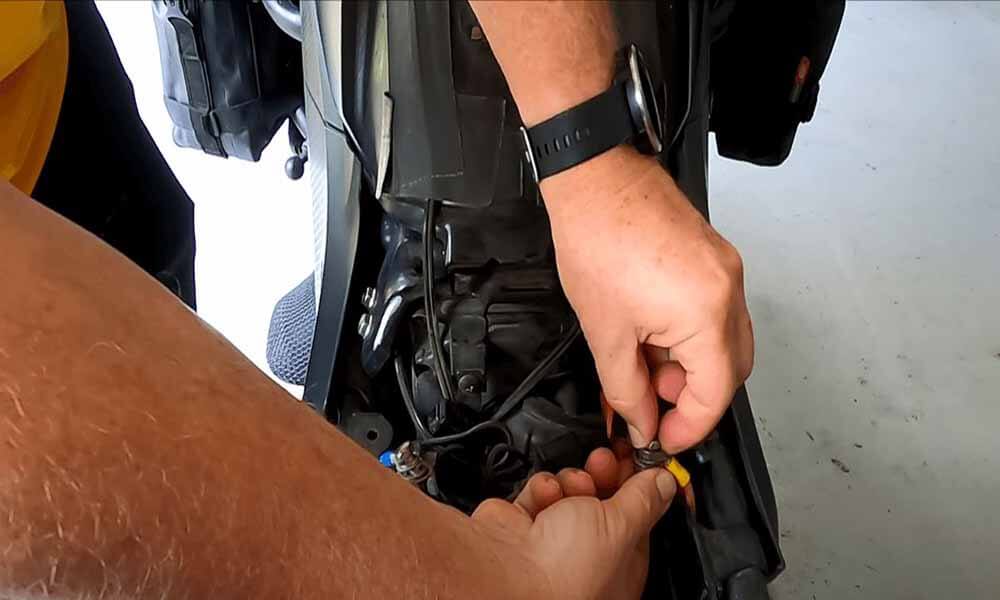
In cases where the bike has been sitting for years, you might find the electrical wiring sheaths are brittle and sockets easily crumble, and the entire circuitry may need to be replaced before you can take her out safely. However, off-season breaks are not as detrimental and only require treatment. Just to be triple sure, coat all electrical joints with heat shrink and anti-corrosive sprays.
First Ride — Phew! Let’s Roll!
Start the engine and allow the bike to idle for a few minutes so that everything greases up and heats up properly. Examine all the lights and indicators for operation while the motorcycle is idling.
Now go for a brief test drive in first or second gear. Take it gently at first, and remember that many of the engine’s mechanical parts, which are normally oiled, may have dried out.
With those few checks your bike is ready to go, but by this time you have probably already spent your entire afternoon on checks alone, a worthwhile routine to ensure your safety.
I Have Done All of the Above, But My Motorcycle Still Won’t Start!
You have to appreciate that each machine has somewhat of a unique temperament, and some are not eager to roar back to life even if you religiously followed through the checklist above.
If you’ve done everything else, including a thorough cleaning of the carburetor, and your bike still won’t start, you can attempt the push start approach. To do so, first, locate a slope in your immediate surroundings; once there, shift into second gear and totally release the clutch. Now sit down on your motorcycle and gently push it up the incline.
Release the clutch after you’ve reached a comfortable pace. With this procedure, you will manually rotate the piston, which will then start the engine. If the bike still doesn’t respond, you’ll need to figure out what’s wrong.
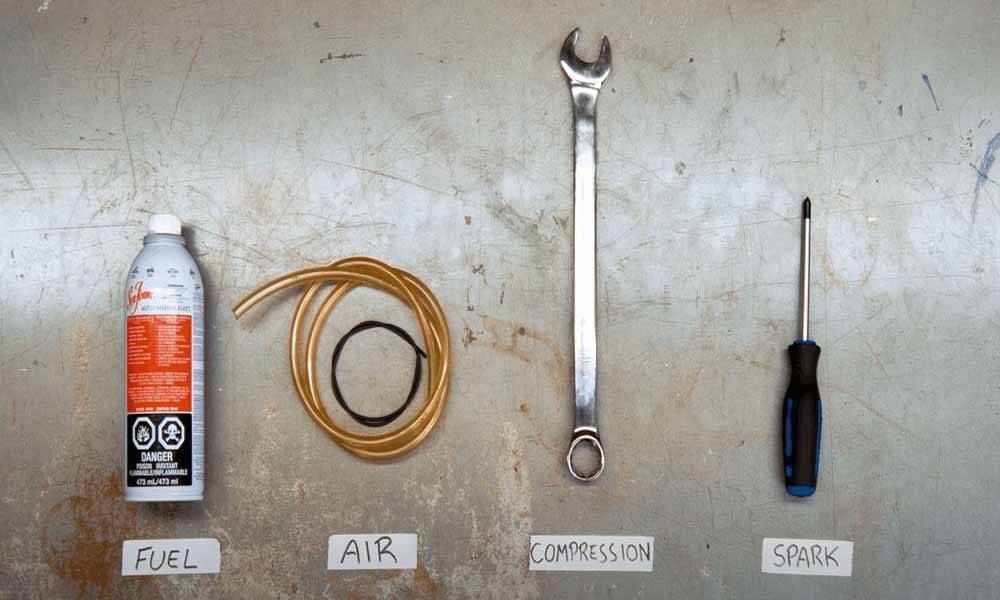
Remember the engines are not always the culprit. For the bike to start, you need three basic elements, a properly mixed stream of air and fuel and a healthy spark with compression.
Time to Summon the Starter Spray?
If your motorcycle won’t start, you might be able to jumpstart it with some starter spray. Starting fluid is sprayed into the engine’s intake (air filter end) to mix with the gasoline and aid in starting the engine. Alternatively, into the carburetor bore or throttle body to quickly deliver gasoline to the combustion cylinder, sparking the engine and starting it. Never spray the spark plug hole.
In the air inlet, spray a little amount of starting fluid. The can should remain upright at roughly 12″ (20 cm) from the air inlet. Before attempting to start the engine, spray the starter fluid for two seconds.
An engine that has remained idle for a while can be nudged back to life with starting fluid even in cold weather. You’ll discover a valve within the carburetor where you may spray the starting fluid. Because you might harm the engine or injure yourself if you don’t do it correctly, you must do it correctly.
If your machine’s engine won’t start but will start momentarily before quitting, the carburetor isn’t getting enough fuel and has to be cleaned and/or rebuilt. You can be sure that there is no healthy spark if starting spray fails to cause at least a stutter. You may be dealing with a damaged ignition coil with other symptoms being misfiring, poor fuel economy, check engine light on/DTC code, and stuttering of the engine when in idle,
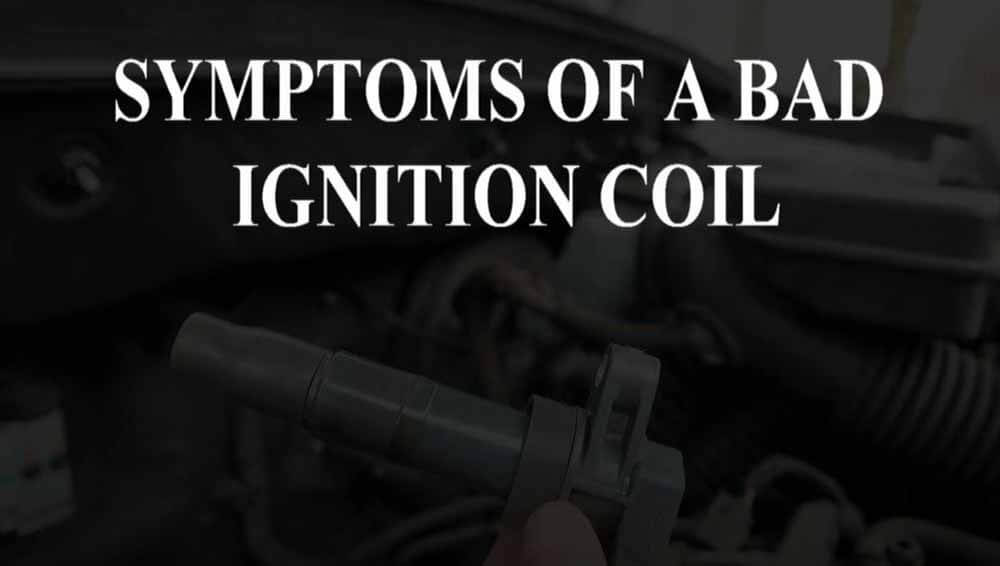
Replacing the coils is simple and should take no more than an hour or two, barring any unexpected issues. Replacement coils typically cost $35-$40 each.
If your motorcycle still won’t run, at this point you have done everything you can do at home and unless you are also a professional mechanic, you should locate one and book a session!
Final Thoughts on How Long Can a Motorcycle Sit Without Starting
Motorcycles are fun, but sometimes life gets in the way of living. A hectic work schedule, family obligations, relocation for work, school, and even vacationing are all waypoints in all our motorcycle journeys and interludes when the rust ghosts haunt our beloved machines. Proper storage of your beloved machine will aid in the removal of accumulated moisture from motorcycle oil, lubrication of the engine, and the prevention of rust, corrosion, clogged filters, tire deterioration, and battery degradation. This will result in lesser visits to the mechanic and a longer life for your machine.
These are high-performance vehicles that must be treated accordingly. The little engine requires frequent lubrication, and corrosion and moisture condensation occur much more quickly than you may imagine.
When small-displacement bikes aren’t used for lengthy periods of time, they tend to perform poorly than bigger displacement bikes.
Information for this article was partially sourced and researched from the following authoritative Government, educational, corporate, and nonprofit organizations:
About the Author:
Michael Parrotte started his career in the motorcycle industry by importing AGV Helmets into the North American market. He was then appointed the Vice President of AGV Helmets America, total he worked with AGV Helmets for 25 years. In addition, he functioned as a consultant for KBC Helmets, Vemar Helmets, Suomy Helmets, Marushin Helmets, KYT Helmets, and Sparx Helmets.
In 1985, He is the Founder of AGV Sports Group, Inc. cooperation with AGV Helmets in Valenza Italy
Click here for LinkedIn Profile: https://www.linkedin.com/in/parrotte/
Click here for complete AGV Helmet & AGVSPORT History https://agvsport.com/michael-parrotte
Click here for all AGV Sports Group Social Media information http://agvsport.info/
FM/AL

